


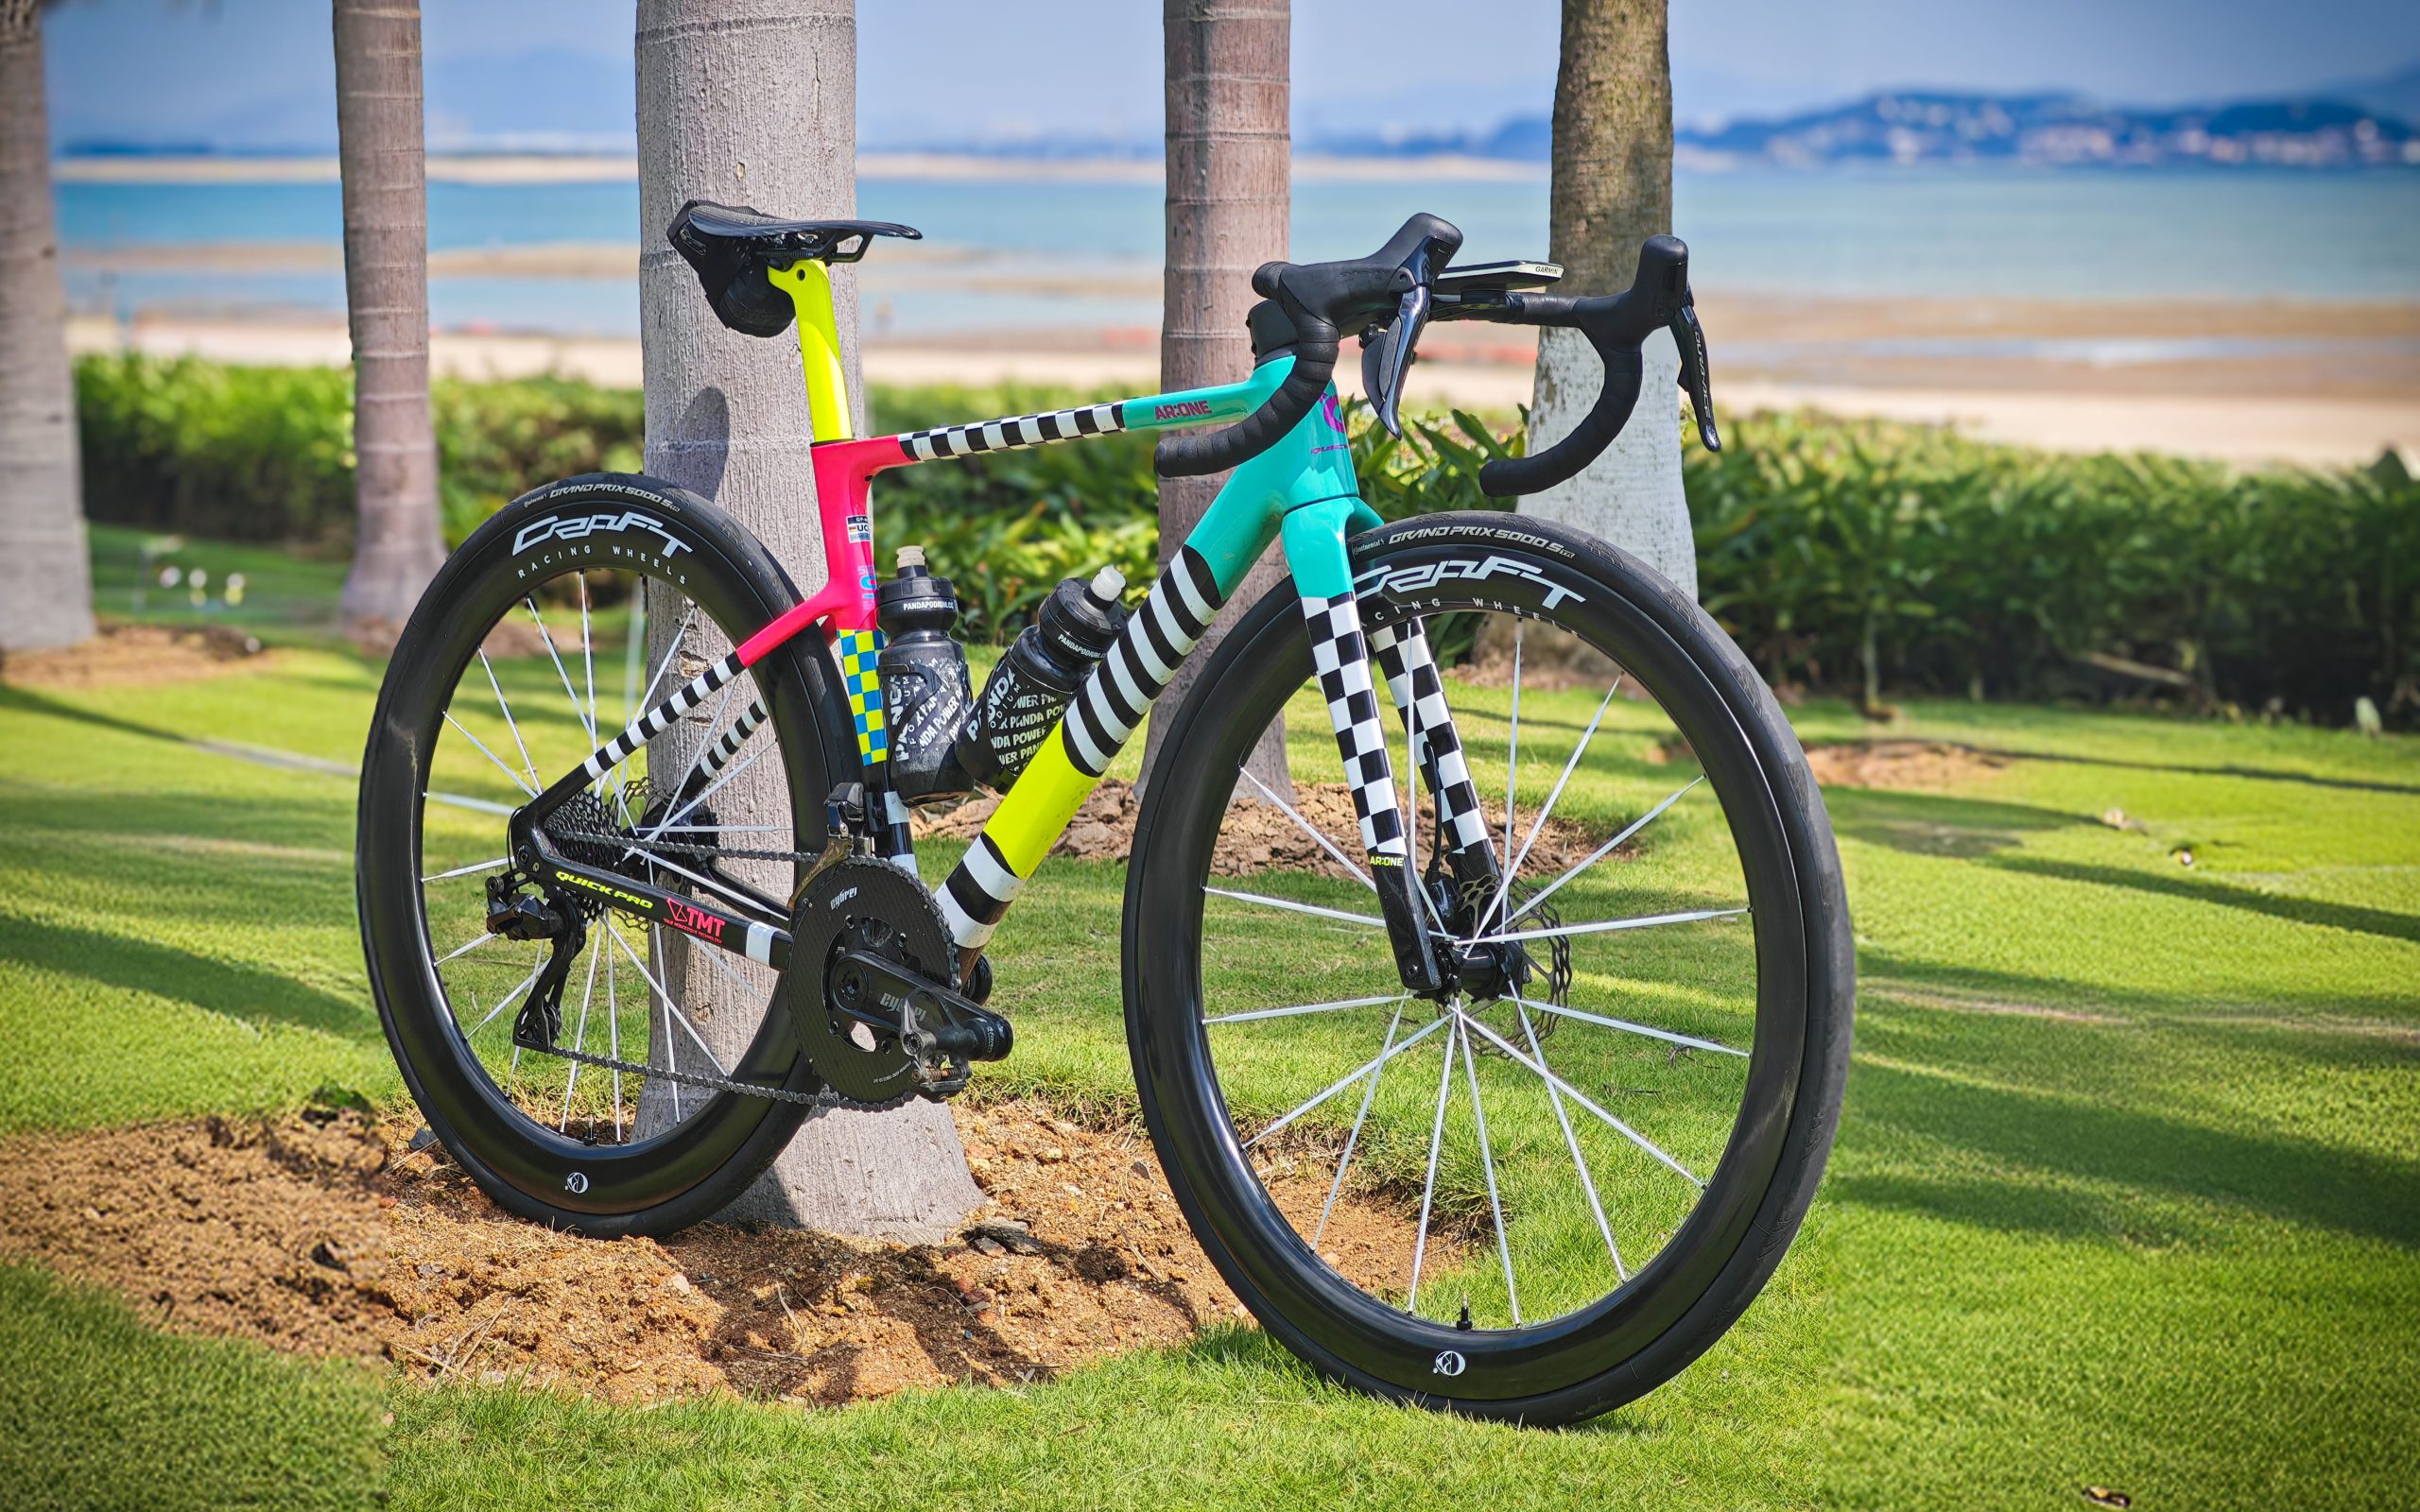
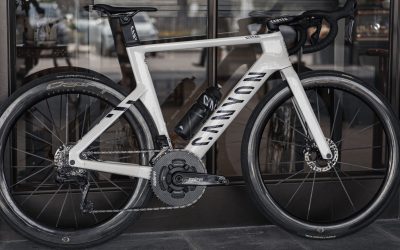
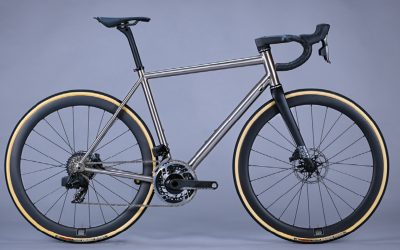
I’ve Built Over 30 Chinese Road Bikes – Here’s How to Get the Most Speed for Your Money
Defining Your Riding Goals & Budget
What’s the goal of your bike? Are you building an all-round race bike? An endurance bike for bike-packing adventures? Or are you looking to get into crit racing? The first step is to have a clear idea of what the bike will be used for. This way, all your subsequent decisions can support that goal.
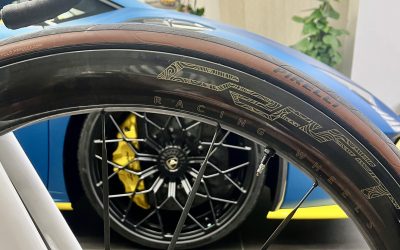
While you’re thinking about these decisions, one of the key things to consider is tires. What size tires will you be using? This will affect many other aspects of the build. There’s a trend toward wider tires on road bikes, but if you’re a lighter rider or live in an area with smooth road surfaces, you may not need them.
- Lighter riders on pristine roads will likely be fastest on 25mm tires.
- Middleweight riders on average roads will probably perform best on 28mm tires.
- Heavier riders on poor roads will generally be faster (and more comfortable) running 32mm tires at lower pressures.
Think about this early so you don’t run into issues later (for example, with frame tire clearance).
If you’re fortunate enough to have the resources (and space) for multiple bikes, then each one can be more specialized (no, not that Specialized). However, if (like most people) you’re limited to one bike, it may need to be more of an all-rounder. You could consider having two pairs of wheels for different ride types.
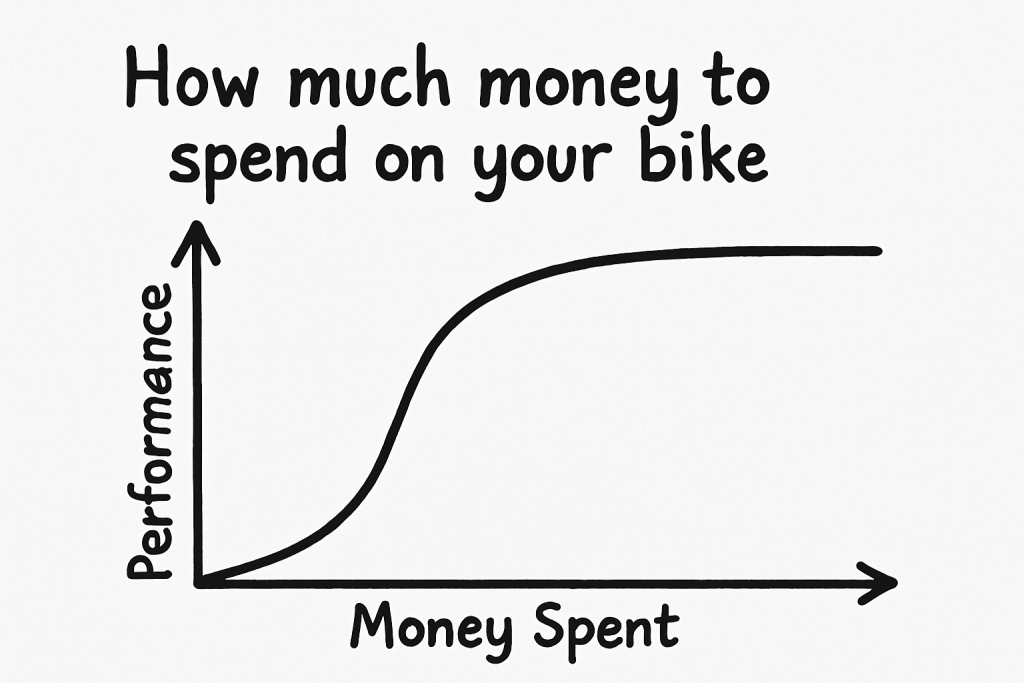
With the goals of the bike established, it’s time to talk about budget. As a rule of thumb, the more you spend, the faster you go. However, it’s definitely a game of diminishing returns. Toward the absolute pinnacle of performance, you’ll be paying increasingly more money for increasingly smaller gains.
In general, for a high-performance road bike, a budget of anywhere between $3,000 and $6,000 USD is probably the sweet spot. With your budget in mind, you can roughly distribute the money between the various components. The exact breakdown depends on what’s most important to you, but as a general guide:
- Frame ≈ 35%
- Wheels ≈ 25%
- Drivetrain ≈ 20%
- Finishing kit & extras ≈ 20%
-
 Select options This product has multiple variants. The options may be chosen on the product page
 -
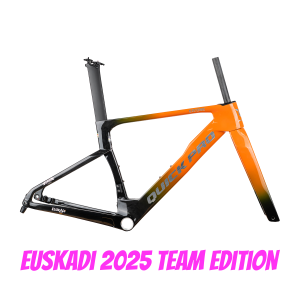
 Select options This product has multiple variants. The options may be chosen on the product pageBikes, Framesets
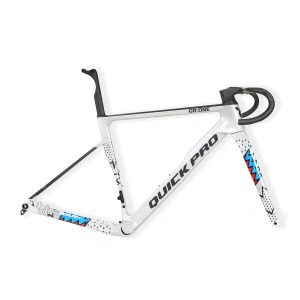
QUICK PRO AR:One Carbon Road Bike Frameset
Price range: $1,899.00 through $2,099.00 -
 Select options This product has multiple variants. The options may be chosen on the product page
 -
 Select options This product has multiple variants. The options may be chosen on the product page
 -
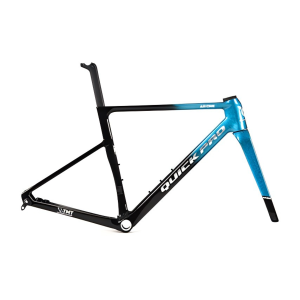
 Select options This product has multiple variants. The options may be chosen on the product pageBikes, Framesets
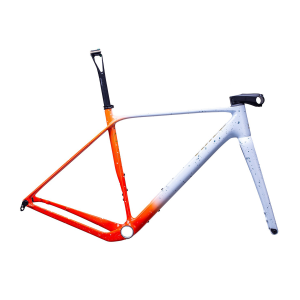
QUICK PRO GR:ONE Carbon GRAVEL Bike FRAMESET
Price range: $1,999.00 through $2,199.00 -
 Select options This product has multiple variants. The options may be chosen on the product page
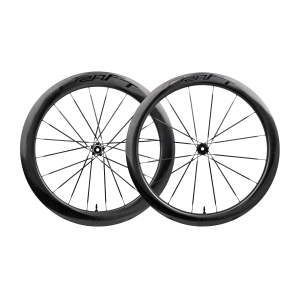
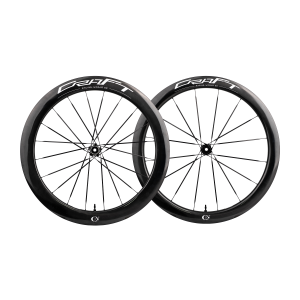
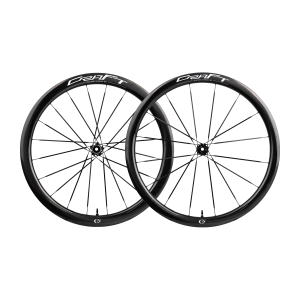
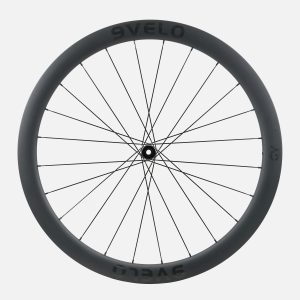
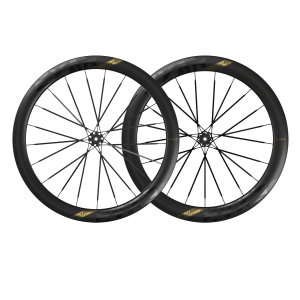
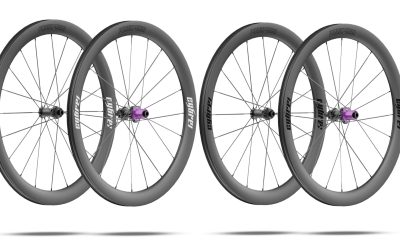
Wheels for Performance
While we recommend starting by choosing a frame (for reasons of compatibility) the biggest impact on bike performance probably comes from the wheels. It’s also an area of huge variation, from low-profile, skinny climbing wheels to deep, wide aero monsters.
During the planning stage, you’ve already decided what size tires you want to use, so when choosing a wheelset, it’s important to find a rim width that matches well. For road tires, a general rule of thumb is that the inner rim width should be around 4–6 mm narrower than the tire width, but always check with the manufacturer to be sure.
Next, you’ll want to choose your rim depth. Shallower rims are lighter and climb better, but usually generate more aero drag (i.e., they’re slower on the flats). Deeper rims are the opposite: heavier and slower on climbs, but faster on flat terrain. Of course, in the middle, there are plenty of options that aim to offer a “best of both worlds” solution.
Be warned: going too deep can negatively affect bike handling in windy conditions. This can be especially daunting for lighter riders. So, if you’re a lighter rider or live in a particularly windy area, you may want to stay under 50 mm for rim depth.
Spoke material is another important consideration. Traditionally, steel has been the material of choice for spokes. However, in recent years, carbon fiber spokes have become increasingly common. They offer a lighter, stiffer wheelset, but ride quality can suffer—more road vibrations may be transmitted to the rider. If you’re prioritizing performance, some road buzz is a small price to pay. But if comfort is a bigger concern, stick with steel. For maximum comfort, you might even consider polymer-spoked wheels. These string-like spokes dampen vibrations effectively, but at the cost of stiffness.
Once you’ve chosen a depth, width, and spoke material, you’ll likely face multiple options at varying price points. All else being equal, more expensive wheels tend to be lighter—thanks to more exotic materials and extensive CNC machining of the hubs.
Lastly, when purchasing your wheels, make sure to select the correct freehub body for your chosen groupset. For help narrowing down your options, try our wheelset comparison tool!
-
 Select options This product has multiple variants. The options may be chosen on the product pageWheels Tires & Tubes, Wheelsets
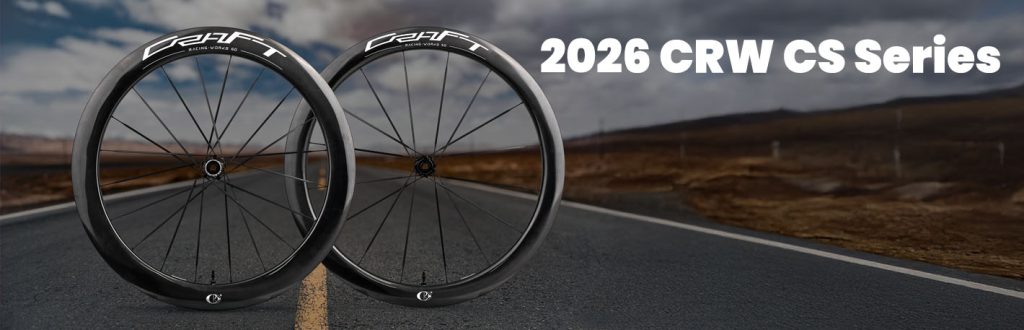
CRW Works 2026 CS5060 Road Disc Brake Wheelset
Price range: $1,680.00 through $1,720.00 -

 Select options This product has multiple variants. The options may be chosen on the product pageWheels Tires & Tubes, Wheelsets
CRW Works 2026 CS4045 Road Disc Brake Wheelset
Price range: $1,680.00 through $1,720.00 -
-16%

 Select options This product has multiple variants. The options may be chosen on the product pageWheels Tires & Tubes, Wheelsets
9Velo 2024 GV45 2.0 Gravel Disc Brake Wheelset
Price range: $969.00 through $1,089.00 -
 Select options This product has multiple variants. The options may be chosen on the product page
-
-7%
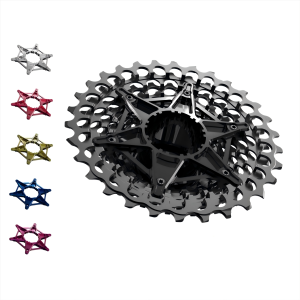
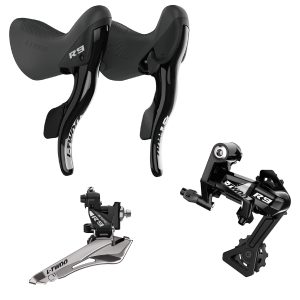
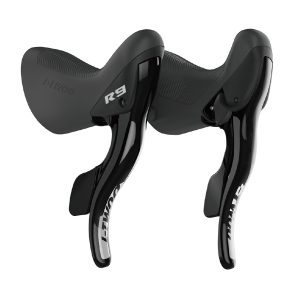
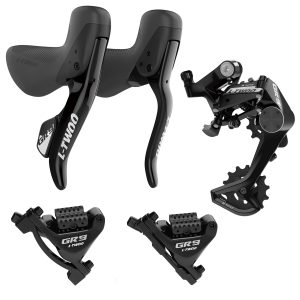
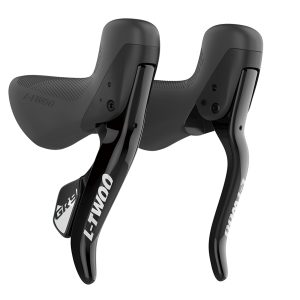
 Select options This product has multiple variants. The options may be chosen on the product pageComponents, Groupsets
L-TWOO 2026 eRX Road Electronic Hydraulic Disc Brake Groupset 2×10-12 SPEED
Price range: $649.00 through $684.00 -
 Select options This product has multiple variants. The options may be chosen on the product page
 -
 Select options This product has multiple variants. The options may be chosen on the product page
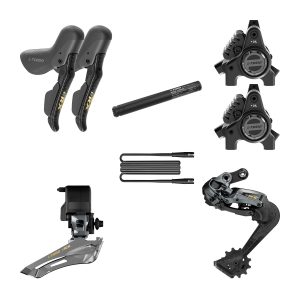
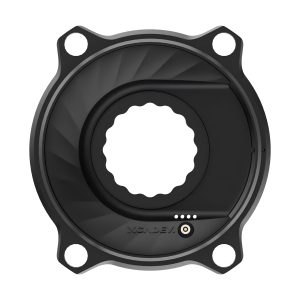
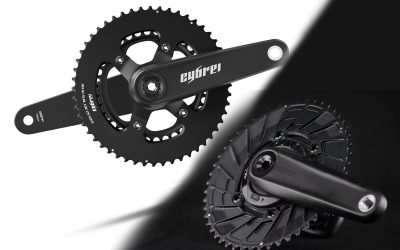
Cranksets (and Power Meters)
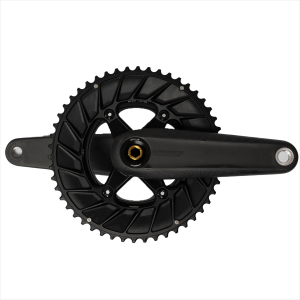
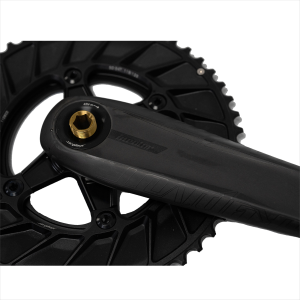
If you’re buying a complete groupset from Shimano or SRAM, it may come with a crankset included. However, try to buy a groupset without a crankset if possible. This gives you much more freedom to choose the perfect crank length and chainring size—and can save a lot of weight! The cranksets included in full groupsets are often heavy for the price.
First, choose the ideal crank length. In recent years, there’s been a trend toward shorter cranks, with many taller riders now using 165 mm cranks. Shorter riders may want to go even shorter, such as 150 mm or 155 mm. If you’re unsure, it’s best to consult a bike fitter.
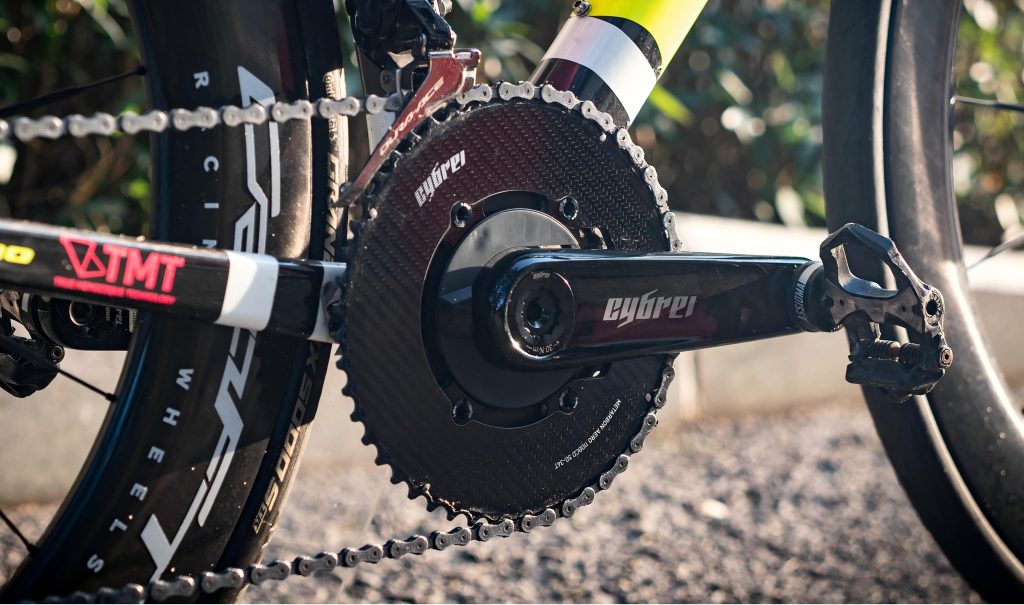
With crank length chosen, it’s time to select your chainring size. For most riders, 50/34 is more than enough. Stronger riders (or those who rarely climb) may prefer larger chainrings such as 53/39.
Crank spindles generally come in two standards: 24 mm and 29 mm. Typically, 24 mm spindle options are more expensive, as they require more exotic materials to achieve the same strength and stiffness as a 29 mm crank. For most users building a new bike, 29 mm is a great choice…just make sure to get the correct bottom bracket to match your frame and crankset.
The final consideration with cranksets is whether or not to get one that includes a power meter. Fortunately, there are great power meter crankset options available at a wide range of price points. Most of the cranksets we offer come with interchangeable spiders, so if your budget is tight, you can start without a power meter and upgrade later.
-
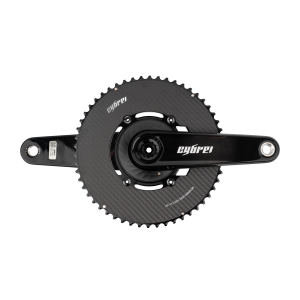
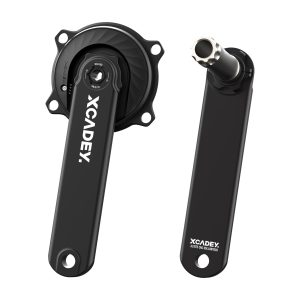
 Select options This product has multiple variants. The options may be chosen on the product pageComponents, Cranksets, Power Meters
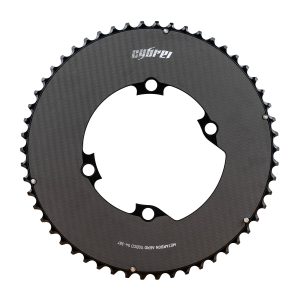
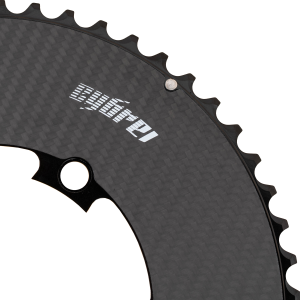
CYBREI Carbon Crankset – Powermeter Spider w/ EVO or METARBON Chainrings
Price range: $889.00 through $1,059.00 -
 Select options This product has multiple variants. The options may be chosen on the product page
 -
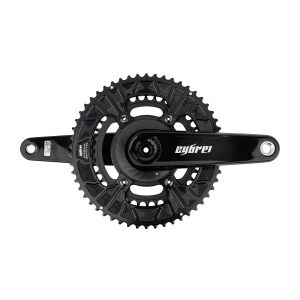
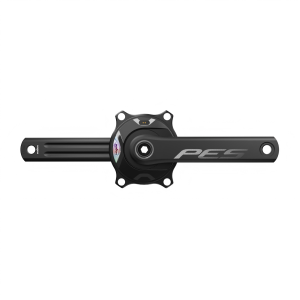
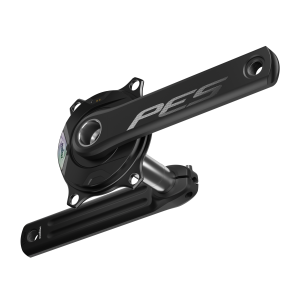
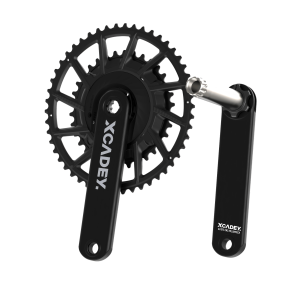
 Select options This product has multiple variants. The options may be chosen on the product pageComponents, Cranksets, Power Meters
Incolor Skypivot Lightweight Road Bike Crankset
Price range: $380.00 through $929.00 -
 Select options This product has multiple variants. The options may be chosen on the product pageComponents, Cranksets, Power Meters
Magene PES P515 Base Power Meter Crankset
Price range: $299.00 through $374.00
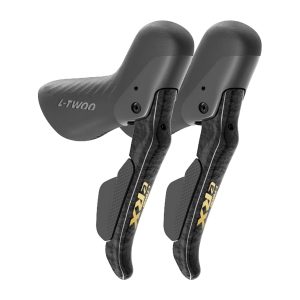
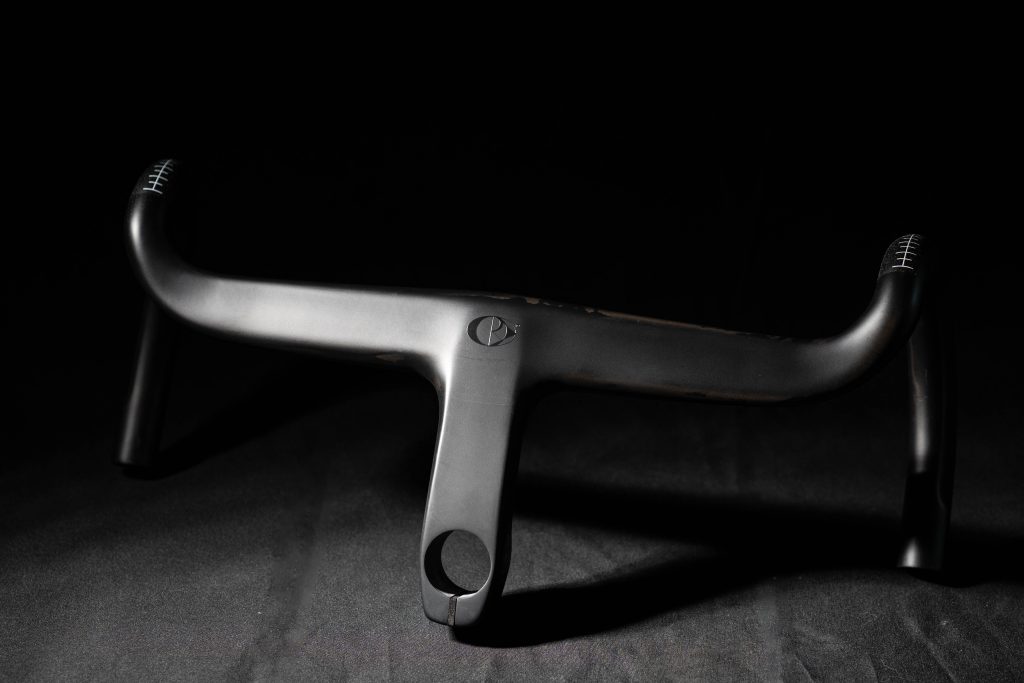
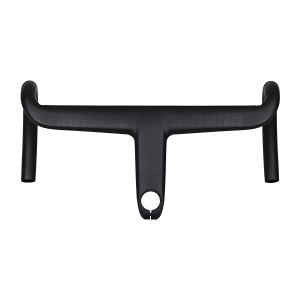
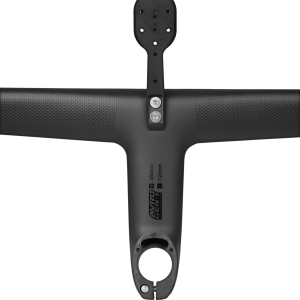
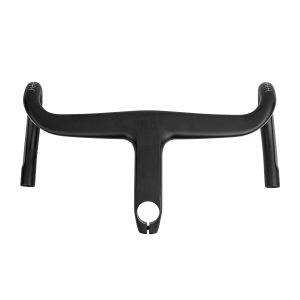
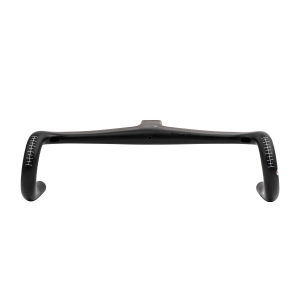
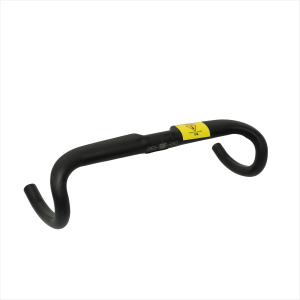
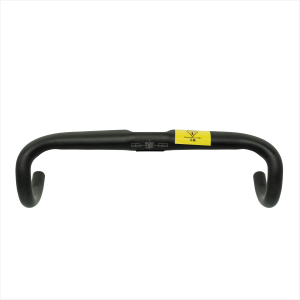
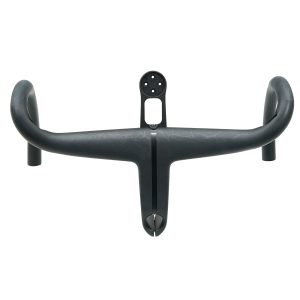
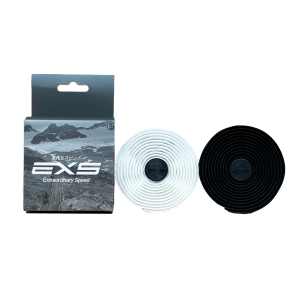
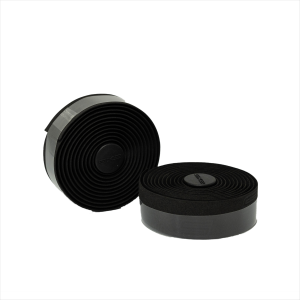
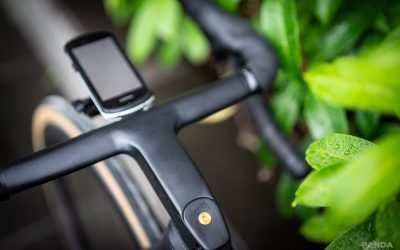
Cockpit & Contact Points
The handlebar (or “cockpit,” as we MAMILs like to call it) is the main way you interact with your bike, and its size and position will greatly affect how aerodynamic and comfortable you are on the bike.
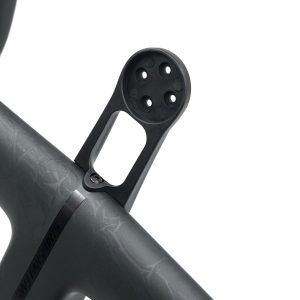
The first decision is whether to go with a separate bar and stem or an integrated solution. Most riders these days choose integrated for a cleaner look, better aerodynamics, and a superior strength-to-weight ratio. However, the downside is reduced adjustability—you won’t be able to fine-tune things like bar angle as easily.
The second key factor is size, which should be based on your bike fit and riding goals. Narrower handlebars generally allow for a more aerodynamic position, but if they’re too narrow, you may experience discomfort or find your elbows flaring outward negating any aero gains.
Each handlebar also has several geometry stats that affect ergonomics:
- Reach: the horizontal distance from the stem clamp to the hoods. It adds to the total reach of your setup (frame + stem + bar).
- Drop: the vertical distance from the tops to the drops.
- Flare: how much wider the drops are compared to the hoods. More flare can improve stability when sprinting or descending, but it often comes down to personal preference.
If you opt for an integrated cockpit, make sure you get the correct headset spacer or adapter to match your frame.
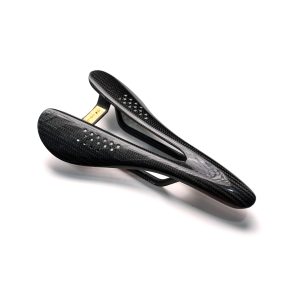
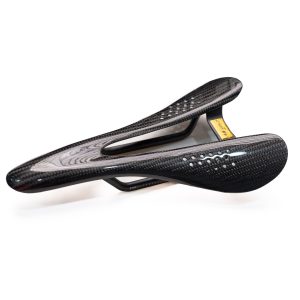
Other key contact points are the saddle and pedals.
Saddles are often a matter of personal preference, but they’re also an opportunity to save weight. If you want a bit of padding, check out the Yoeleo saddle. If you’re a true weight weenie, the 65g MVMT M-Gold ultralight saddle might be the one for you.
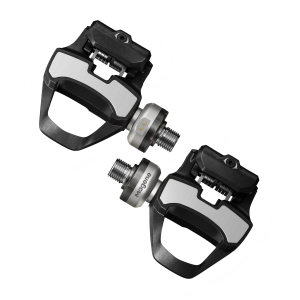
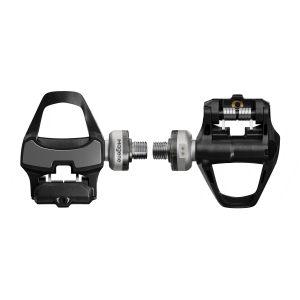
As for pedals, the two main standards for road bikes are Shimano SPD-SL and LOOK KEO. Each has multiple options, with the primary difference being weight—lighter pedals use more expensive materials and cost more.
If you ride multiple bikes, power meter pedals can be a great option, allowing you to move the power meter between bikes. Magene’s new P715 power meter pedals are a solid, budget-friendly choice worth considering.
-
 Select options This product has multiple variants. The options may be chosen on the product page
 -
 Select options This product has multiple variants. The options may be chosen on the product page
 -
 Select options This product has multiple variants. The options may be chosen on the product page
 -
 Select options This product has multiple variants. The options may be chosen on the product page

-
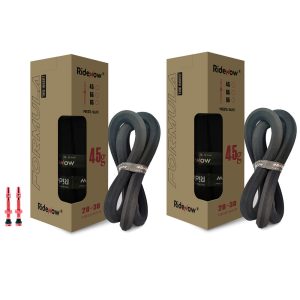
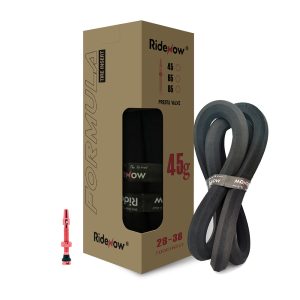
 Select options This product has multiple variants. The options may be chosen on the product pageTubes, Wheels Tires & Tubes
RideNow Ultralight Bike Inner Tube 36g*6
Price range: $48.00 through $69.00 -
 Select options This product has multiple variants. The options may be chosen on the product page
-
 Select options This product has multiple variants. The options may be chosen on the product page
 -
 Select options This product has multiple variants. The options may be chosen on the product page
 -

 Select options This product has multiple variants. The options may be chosen on the product page
 -
 Select options This product has multiple variants. The options may be chosen on the product page

Leave a Reply
You must be logged in to post a comment.